MAC Address Finder Tool – Identify Device Manufacturer Easily
Discover your computer's ethernet card manufacturer or vendor name with our MAC Address Finder Tool. Find your MAC address in seconds!
Discover your computer's ethernet card manufacturer or vendor name with our MAC Address Finder Tool. Find your MAC address in seconds!

About MAC Address Finder Tool – Identify Device Manufacturer Easily
The MAC Address Finder Tool is a powerful and efficient tool that helps you discover the manufacturer or vendor of your computer's ethernet card. This online tool lets you quickly and easily find relevant information about your network devices and their hardware addresses, known as MAC (Media Access Control) addresses. With a simple and intuitive interface, our MAC Address Finder Tool makes identifying ethernet card manufacturers a breeze.
A MAC address is a unique identifier assigned to the ethernet card of your computer or network device. It is a hardware address encoded by the manufacturer according to the OSI (Open Systems Interconnection) model. These addresses are vital for properly functioning network connectivity and communication between various devices on the network.
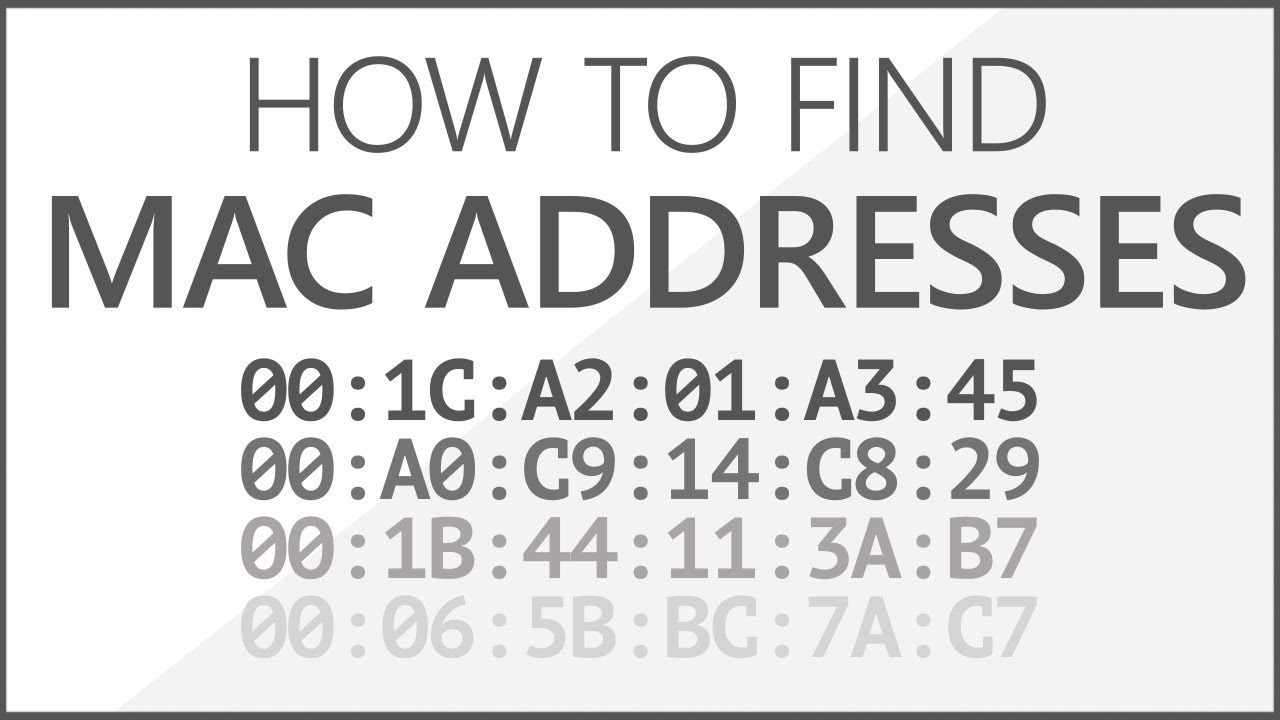
• Six groups of two hexadecimal digits separated by colons (:) or hyphens (-)
• Three groups of four hexadecimal digits separated by dots (.)
MAC addresses also include an Organizationally Unique Identifier (OUI), which helps identify the network device's specific manufacturer or vendor.
Depending on your operating system, you can quickly locate your MAC address through various methods:
Windows: Open the Command Prompt (CMD) and type getmac. Press Enter, and you will be provided with your MAC address.
Linux/Unix: Type ifconfig -a in the terminal window to display your MAC address.
Mac OS X: Launch Terminal, and enter ifconfig to find your MAC address.
Cisco devices: Type show arp in the CLI (Command Line Interface) to reveal the device's MAC address.
With the MAC Address Finder Tool, you can effortlessly identify your computer's ethernet card manufacturer, ensuring your networking needs are catered for quickly and efficiently.
Expand expand_more